Why Faux Leather Peels: The Science Behind the Problem
(How to repair peeling faux leather) It’s frustrating when your favorite faux leather jacket or car seats start peeling, isn’t it? That flaking surface can make any item look worn out and cheap. But here’s the good news: understanding why this happens is the first step toward a successful repair.
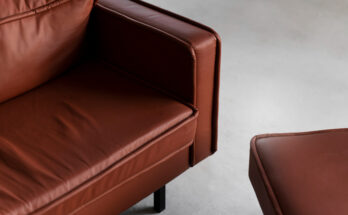
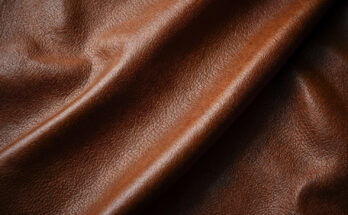
Think of faux leather as a sandwich. The bottom layer is a fabric backing usually polyester or cotton. On top sits a thin plastic coating made from polyurethane (PU) or PVC. This coating gives faux leather its sleek, leather-like appearance. The peeling occurs when this top layer begins separating from its fabric base.
What causes this separation? Several everyday factors are usually to blame:
-
Regular Wear and Tear: Constant bending and friction like on jacket elbows or car seat bolsters slowly weakens the bond between layers
-
Heat and Sunlight: UV rays and high temperatures (think hot car interiors) break down the plasticizers in the coating, making it brittle
-
Moisture Exposure: Spills or high humidity can seep between layers, degrading the adhesive
-
Low-Quality Materials: Some cheaper faux leather items simply aren’t made to last
The important thing to remember is that this peeling isn’t a sign that your item is ruined forever. In fact, once you understand this simple “fabric plus coating” structure, it becomes much clearer how to approach a repair. Whether you’re dealing with a lightly peeling handbag or a seriously flaking car interior, the solution lies in re-bonding these separated layers or replacing the damaged coating entirely.
Now that we know what we’re dealing with, let’s look at how to assess the damage and choose the perfect repair method for your situation.
Section 2: Damage Assessment: Is Your Item Worth Repairing?
Before you start, let’s figure out the best fix for your specific situation. Look closely at the damage. Is it a small flap that’s lifting, or is the surface cracked and flaking away? This quick check will save you time and effort.
Go for a simple glue fix if: The peeling area is small (like a coin), the top layer is just lifting but still flexible, and the fabric underneath is intact. This is a quick win!
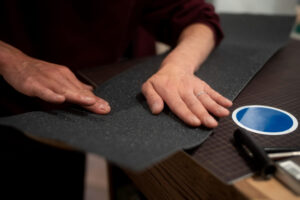
Choose a repair kit if: You have a larger peeled area, a small hole, or the coating has flaked off completely. A good faux leather repair kit works wonders on car seats and furniture.
Consider replacement if: The entire surface is peeling at once, the fabric base is torn, or the item is very cheap. Sometimes, a new purchase makes more sense than a lengthy faux leather repair.
For most everyday peeling problems, a DIY fix is not only possible it’s highly effective and incredibly satisfying!
Section 3: Your 3 Main Repair Methods Explained
Think of these as your three main tools for the job. Picking the right one is the key to a seamless fix.
-
Flexible Adhesive: The Invisible Fix. This is your go-to for simple lifting. A special flexible adhesive slips underneath the peeling layer and glues it right back down to the fabric base. It’s perfect for edges that have come loose on a jacket collar or purse strap.
-
Vinyl Repair Kit: The Patch Master. When material is actually missing, a vinyl repair kit is your best friend. It uses a matching patch and often a heating tool to melt new material into the old, creating a strong, flexible bond that’s ideal for high-wear spots.
-
Refinishing Paint: The Total Makeover. If the surface is scuffed, discolored, or has many tiny flakes, faux leather paint is the answer. This method doesn’t just repair; it completely resurfaces the item with a new color and protective topcoat.
Section 4: The Step-by-Step Glue Repair Guide
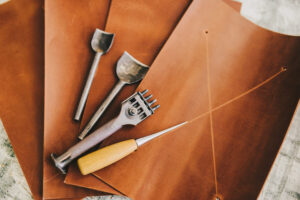
Let’s start with the easiest method: the adhesive fix. You’ll need a bottle of strong, flexible adhesive (like a rubber cement meant for vinyl) and a couple of toothpicks.
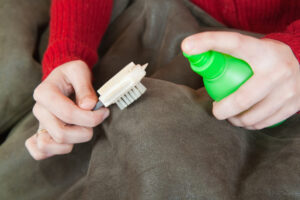
First, gently clean the peeling area with a tiny bit of rubbing alcohol on a cotton swab to remove any dirt or oils. Let it dry completely.
Next, use the toothpick to carefully apply a thin layer of adhesive underneath the peeling faux leather. Don’t use too much, or it might seep out! Now, press the layer down firmly. You can use a clothes peg or a heavy book to hold it in place while it dries.
Follow the glue’s instructions for drying time usually a few hours. And just like that, you’ve performed your first faux leather repair!
Section 5: Using a Repair Kit for Flawless Results
For bigger jobs like a peeling faux leather car seat, a repair kit is the way to go. These kits come with patches, liquid vinyl, and a heating tool.
Start by trimming any loose flakes with scissors. Then, pick a patch from the kit that best matches your item’s color and texture. Place it over the hole or peeled area.
The next step is to use the heating tool in the kit. You’ll gently iron the patch, which melts the new vinyl and bonds it permanently with the old material around it. It might seem like magic, but it’s just science! The result is a strong, flexible, and nearly invisible fix for peeling faux leather that will last for years.