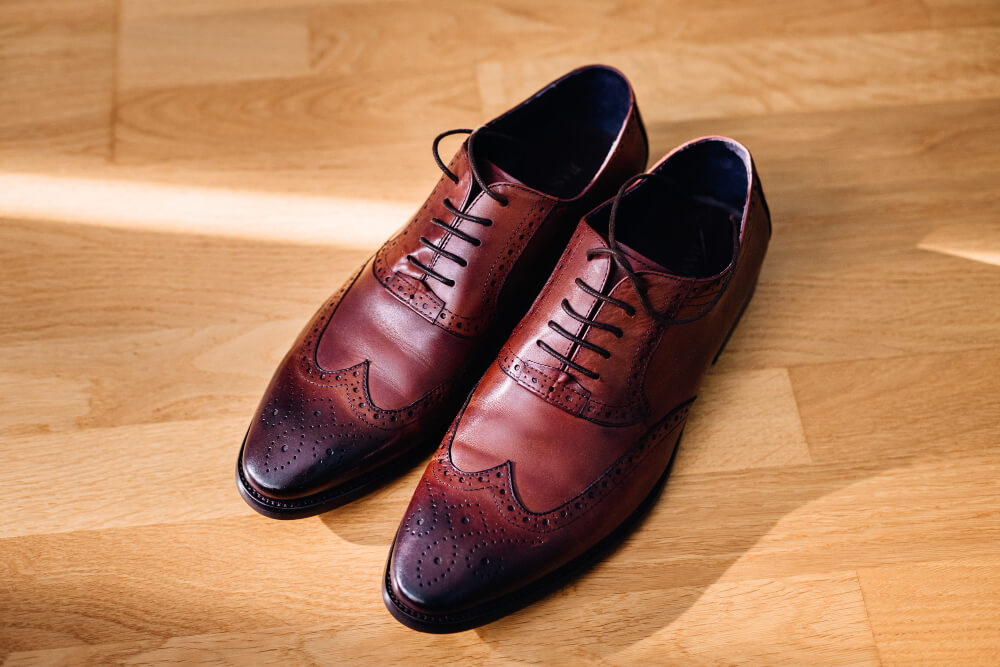
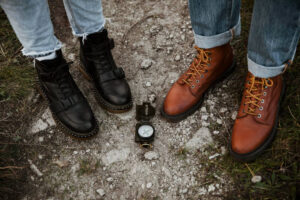
(How do you shrink leather shoes) Alright, let’s get your shoes fitting just right. I know that feeling you find the perfect pair of leather shoes, only to spend the next week hoping they’ll somehow “break in” to stop that annoying slip at the heel. You start searching for solutions, but the advice is everywhere: some say throw them in the freezer, others say blast them with a hairdryer. It’s confusing, and more than anything, you’re worried about ruining a good pair of shoes.
I get it. The urge to try a quick DIY method to shrink leather shoes is strong. Before you grab the hairdryer or a spray bottle, let’s talk about what’s really happening with the leather on your feet. Understanding this simple science is the difference between a successful fix and a costly mistake.
Why Shrinking Leather is a Gamble (The Science Simplified)
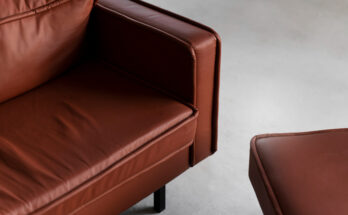
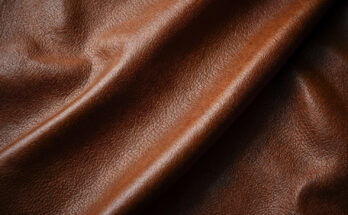
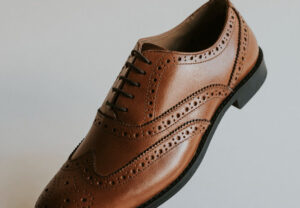
Think of a piece of high-quality leather not as a rigid material, but as a dense, natural fabric made of millions of tiny, interwoven fibers. When your shoes are new, these fibers are tight. As you wear them, the constant pressure and moisture from your feet slowly stretch and relax those fibers, which is why shoes often feel a bit roomier over time.
The goal of shrinking leather shoes at home is to gently encourage those stretched-out fibers to contract and tighten up again. The two main tools for this are heat and water.
-
Heat works by drying out the natural oils and moisture in the fibers, causing them to shrink.
-
Water makes the fibers swell and become pliable, so they can be reshaped (with your body heat) as they dry.
Here’s the gamble: applying too much heat doesn’t just shrink the fibers it cooks them, leaving your shoes stiff, brittle, and prone to cracking. Using too much water, or letting them dry improperly, can lead to permanent stains, warping, or even mold. It’s a delicate process.
So, let’s establish the most important rule right from the start: The absolute safest way to shrink leather shoes is to take them to a professional cobbler. They have the right tools and expertise to control the process.
This guide is for the careful DIYer who is willing to proceed with patience, respect for the material, and a full understanding of the risks. We’ll walk through the methods that have the best chance of working, the critical steps you must take to protect your shoes, and the safer alternatives you should always try first. Your goal isn’t just to make them smaller it’s to do it without causing damage you’ll regret.
Your Action Plan Before You Start
Jumping straight in is the biggest mistake. Think of this as your pre-flight checklist to avoid a crash landing.
First, play detective with your shoes. Look for a label inside. Is it full-grain leather, suede, or something synthetic? This matters more than anything. Heat can melt some materials, and water can stain suede beyond repair. If you’re not sure, assume the most delicate type.
Next, figure out how much you need to shrink them. Put them on with normal socks. Can you pinch a little extra material at the heel or over your toes? That pinch is your target. If it’s more than a quarter-inch, be extra cautious.
Finally, always do a spot test. Pick a hidden spot, like inside the tongue, and apply a tiny bit of your chosen method (a quick mist of water or a second of heat from a distance). Wait a full day. If the color or texture changes, stop. Your shoes are telling you this method is too risky.
Your Method Menu: Pick Your Path
Let’s compare your main DIY options so you can choose wisely.
-
The Heat Method (Using a Hairdryer): This is often the safest way to shrink leather shoes at home if done carefully. It uses gentle, dry heat to tighten fibers. Risk: Medium if you’re patient. High if you overheat and crack the leather.
-
The Water Method (The Damp Sock Trick): This is the classic approach—dampen the shoes and wear them dry. It can be effective but is risky. Risk: High due to potential water stains, warping, or mold if they don’t dry right.
-
The Freezer Method (The Ice Trick): Honestly, this is mostly a myth for shrinking. While the water in the bags freezes and expands, leather doesn’t reliably snap back smaller. Risk: Low, but results are minimal.
The Careful Heat Method (Step-by-Step)
If your shoes passed the spot test and need a slight adjustment, follow these steps to shrink shoes with heat safely.
-
Gear Up: Put on 2-3 pairs of thick socks. You want a snug fit.
-
Apply Gentle Heat: Use a hairdryer on its lowest heat setting. Hold it at least 8 inches away from the shoe and keep it moving constantly over the loose areas for 2-3 minutes. Never hold it in one spot.
-
Cool Down: Keep walking around in the shoes for 20-30 minutes as they cool completely. This lets the fibers set in their new, tighter shape.
-
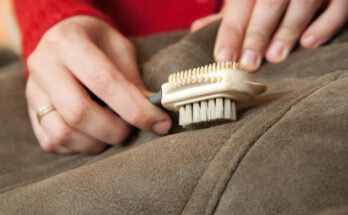
Condition: The heat dries out leather. The next day, nourish it with a good leather conditioner to prevent drying and cracking.
The Risky Water Method (Step-by-Step)
Only try this on sturdy, water-resistant leather if you must.
-
Lightly Dampen: Use a spray bottle to lightly mist the inside and outside of the shoe. Do not soak it.
-
Wear Them Dry: Put on thick socks and wear the damp shoes indoors. Walk around until they are completely dry.
-
Dry Them Right: Stuff them with newspaper to absorb moisture and let them air-dry at room temperature. Never put them on a radiator.
Warning: This method can leave water stains or cause the leather to become stiff.
Why the Freezer Method Usually Fails
The idea of putting bags of water in your shoes and freezing them sounds clever. The problem? While water expands when it freezes, leather fibers aren’t that elastic. The ice might push the shoe out of shape, but there’s no guarantee it will spring back to a perfect, smaller fit. For most people, it leads to disappointment and cold, wet shoes.
The Smart Choice: Seeing a Cobbler
When should you skip the DIY? If your shoes are expensive, sentimental, need more than a slight adjustment, or are made of delicate leather like suede, a cobbler is your best solution. They have professional tools to control the process perfectly. The cost ($25-$65) is cheap insurance against ruining your favorite pair.
Safer, No-Risk Fixes to Try First
Before you try to shrink, try these fixes that work without any risk of damage:
-
Insoles: A good insole is the easiest fix. It lifts your foot and takes up space.
-
Heel Grips: These sticky pads stop heel slippage instantly.
-
Tongue Pads: For a shoe that’s loose over the top of your foot.
-
Lace Tricks: Search for “lock lacing”—it can secure your heel powerfully.
FAQ & Your Final Decision
Q: Can you shrink shoes a full size?
A: It’s very tough at home. For a full size, a cobbler is your only reliable bet.
Q: Will shrinking shoes ruin them?
A: There’s always a risk of cracking or stains. That’s why we stress the safer fixes first.
What should I do? Here’s your quick guide:
-
Slightly big? Try an insole or heel grips.
-
Sturdy leather and a small fix? Try the Careful Heat Method.
-
Valuable or delicate shoes? Go to a cobbler.